How is everyone doing? I got to stamp today and it felt so good! Its been a long time and I really missed it.
I finally got the other mini picture book done for my cousin and I took pics of the process for you in case you would like to make your own little book.
Here is what it ended up looking like:

Punch Potpourri (hostess set). Basic black, crumb cake, poppy parade and old olive cardstock. Poppy parade and soft suede inks. Big shot, little leaves die, sticky pearls, double ribbon punch, Newsprint DSP and a bunch of my favorite Tombow Multi glue.
Cute eh? This measures 3" x 3". Small enough to fit in your purse or pocket. Here are the step by steps for you:
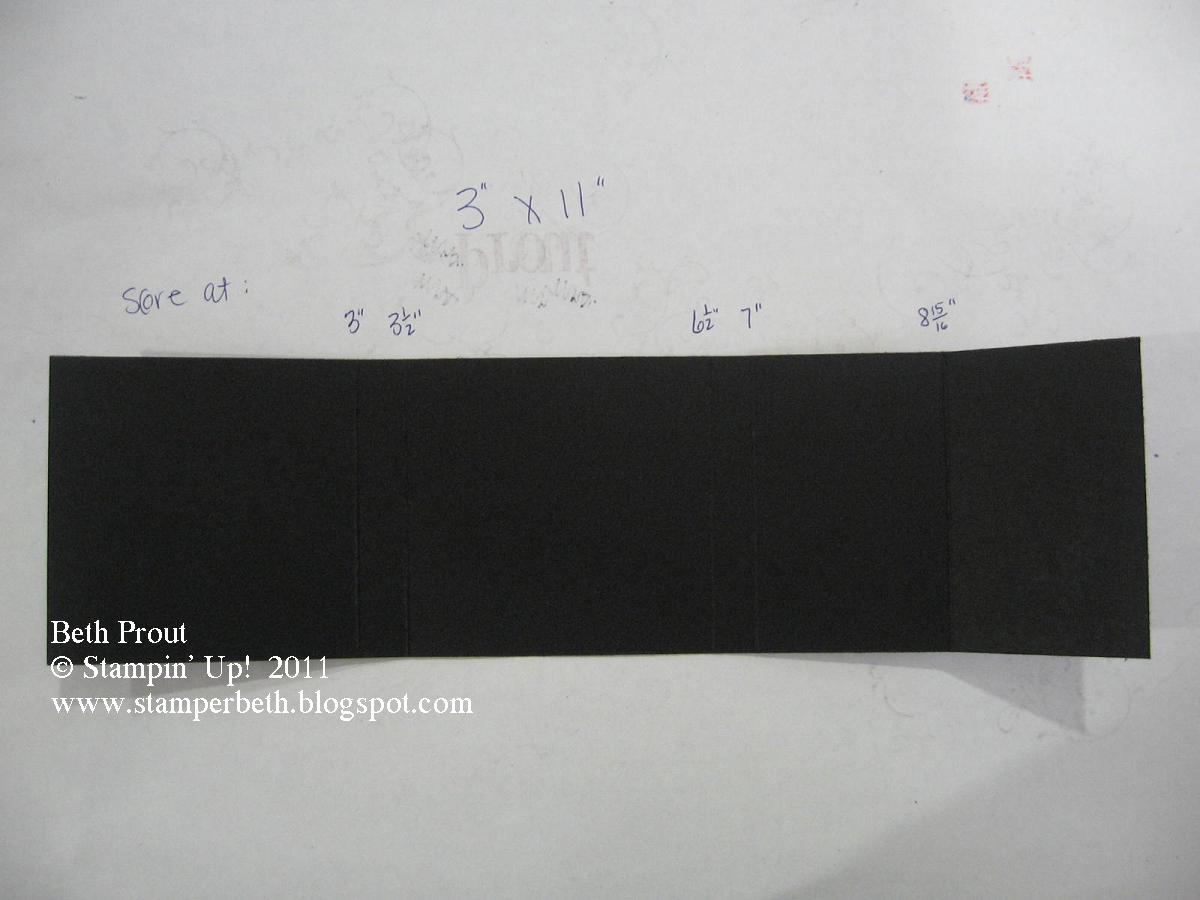
Start with your cover. This measures 3" x 11". Score at 3", 3 1/2", 6 1/2", 7", 8 15/16".

Now for your inside pages. Again, this measures at 3" x 11". Score at 3", 6", and 9". This will leave you a 2" little piece. I wanted 8 pages in mine and so cut 3 of these. You can have more or less depending on your need. Fold it mountain and valley style.

Put some glue on the 2" section and glue it to a 3" section. Do this for all 3 pieces so you have one long continuous piece.

Since I only wanted 8 pages, I cut off the last 3" and 2" sections. This will make sense in a minute......I think.

See what I've got going on here? Both of the 3" sections on either side will glue to the cover. Now if you didn't want pages or wanted to put pics on both sides of the panels then you could just glue one of the 3" sections to the cover and the rest would pull out like an accordion. Does that make sense?

Here I've only glue down the left 3" section of the crumb cake to the 3" section of the black. See how you could leave the right side unglued and it would fold out?

This is the other side of the cover. There are 2 sections. One should measure 1 15/16" and the other will measure 2 1/16". Stick some glue on there (get it? stick some glue? I crack myself up) and glue them together. This will make the flap of the book and will make it sturdier.

Here you see that I glued down the left 3" section to the cover and ran a stripe of glue down the inside crease of the pages. You don't want to glue the whole inside together because then it wouldn't fold flat for viewing.

Here is a little pearl of wisdom for you, it would be so wise to sponge your pages before you ever glued them in the book. Its a little more cumbersome after the fact. ;) I cut the Newsprint DSP into 2 3/4" squares and glued them in after I sponged the pages.
Now its time to glue in your pics. I printed mine out as wallet size and then cut them into squares.
I know, I jumped a little here didn't I? I covered the flap with some more DSP, then used the double ribbon punch, the little leaves die and cut out the flower. I just got the sticky pearls (really not my style, but I like it here). I glued down everything with the Tombow really well and tried to keep everything pretty flat. That way when she puts it in her purse or pocket the cover won't get messed up.
Oh yeah, I also rounded the corners of the flap.

Velcro.

I tried to punch it with my 3/4" circle punch but it wouldn't work. Anyway, this makes a nice tight closure.

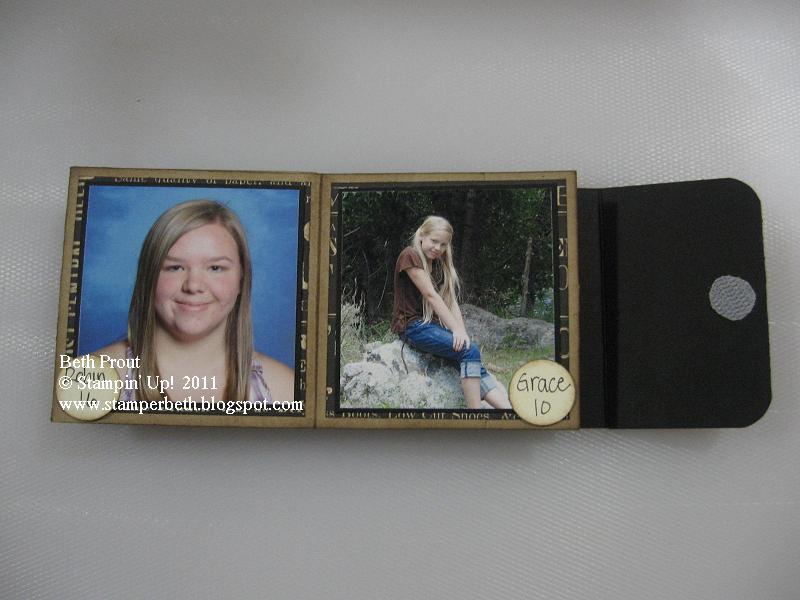


Adding the black cardstock matting behind the pics makes these pages pretty sturdy. My sweet cousin has a 2 year old and hopefully she'll be able to look at this book and her baby strength won't annihilate it in 2 seconds.


There ya go! Cute little picture book. Now go forth a make a bunch! Let me know if you have any questions.
Thanks so much for stopping by. I know I've been pretty sporadic lately but things will get back to normal. More on that another day.
Blessings, b.


